

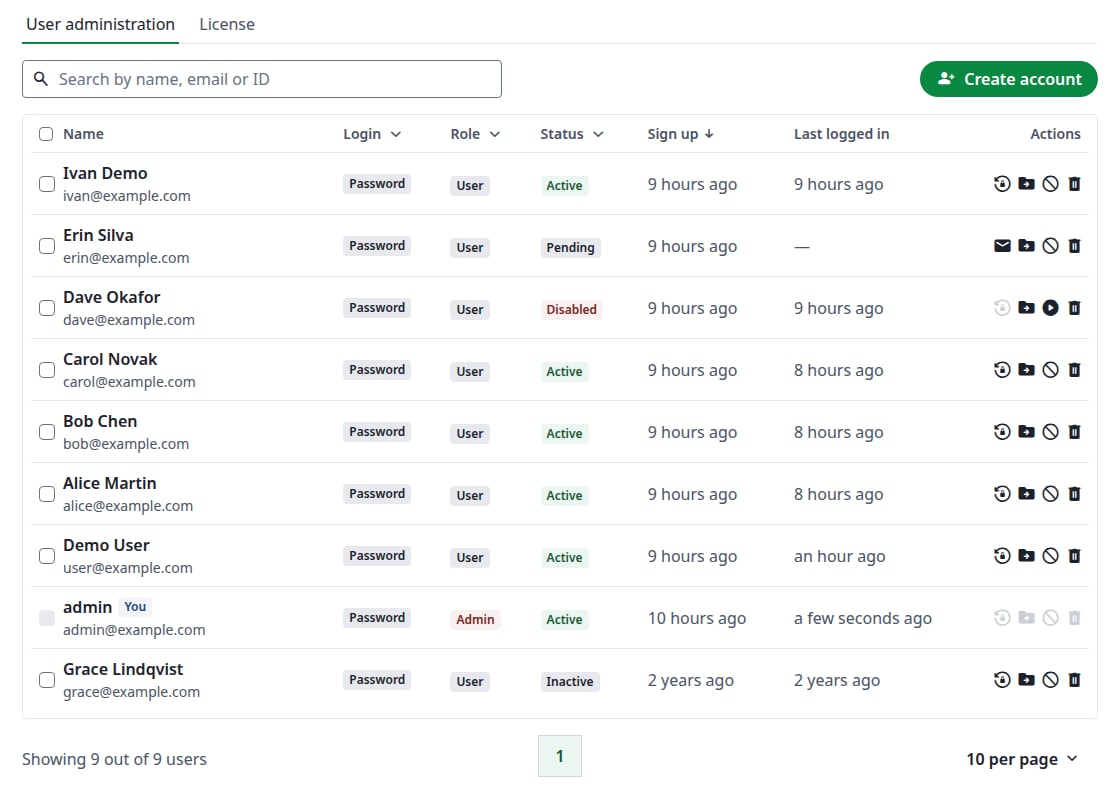
The user list
Find a user
Type in Search by name, email or ID. A full name works too, such asCarol Novak. To narrow the list, use the filters on the Login, Role and Status columns. Click Name, Sign up or Last logged in to sort.
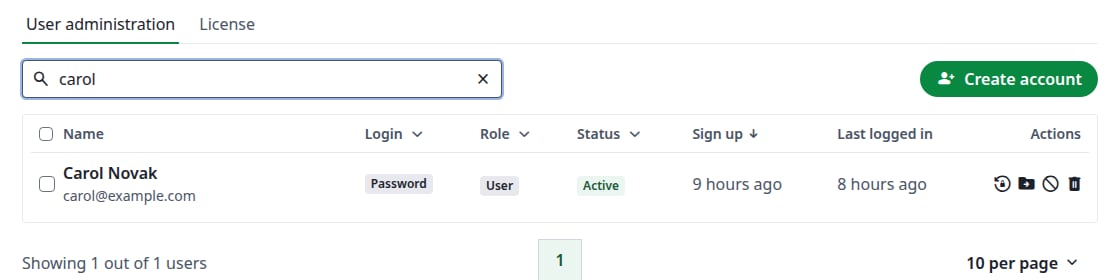
Searching for a user
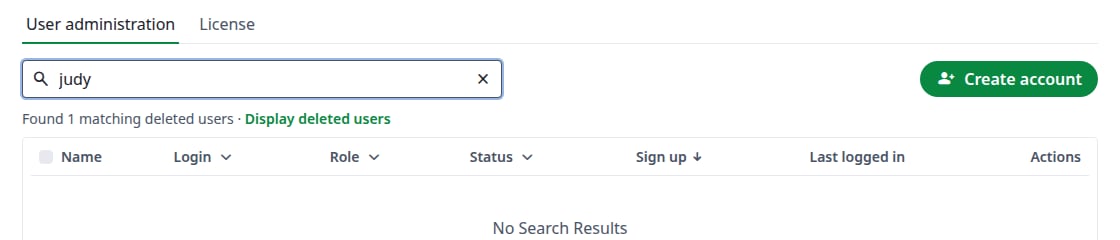
A search that matches a deleted account
User status
Every account has exactly one status, and the Status filter shows how many accounts each one has. Hover over a question mark to read its definition.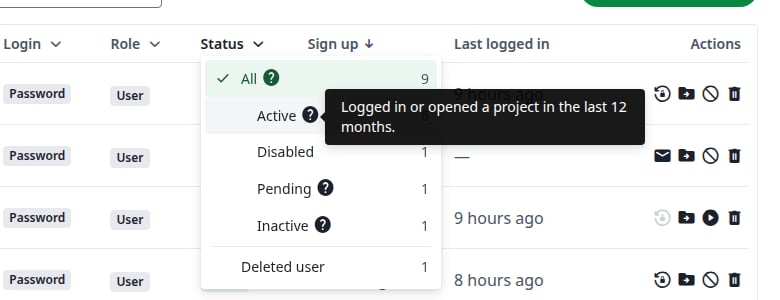
The Status filter
Accounts move between the statuses like this:
- Pending, Active and Inactive follow the account’s use, so you cannot set them. An Inactive account becomes Active as soon as the user logs in.
- Enable and Restore do not bring back an earlier status. The status comes from the last login: an account that has never logged in is Pending again. A disabled account stays Disabled after Restore.
- Delete permanently cannot be undone. Deleted accounts otherwise stay until you remove them, unless the instance sets
ENABLE_CRON_RESOURCE_DELETION, which removes them after 90 days.
Actions on a user
The icons in the Actions column are the same ones as at the top of a user’s page.
Each action asks for confirmation in a dialog that names the account.
Send an activation or reset link
An account shows one of these two icons, depending on whether it has logged in. The icon is greyed out for a disabled account, for an account without a local password, such as an SSO account, and for your own account. Click the icon, then the button with the same name. The dialog stays open and shows the link:- Email Sent means that the email went out.
- No email was sent. Copy the link and pass it on. means that email delivery is not configured or the email failed. Click the copy icon and send the user the link yourself.
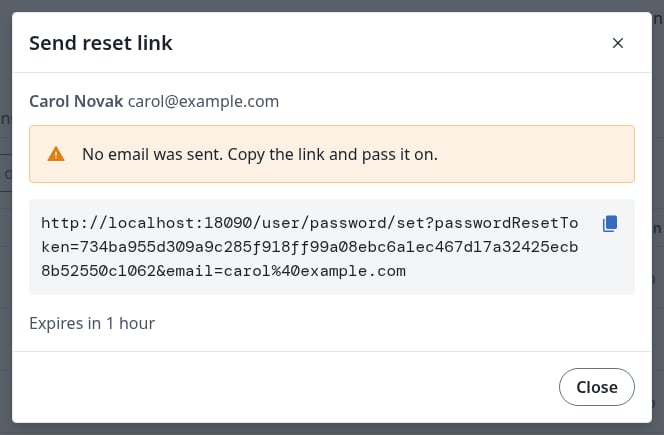
A reset link on an instance without email delivery
Disable or enable an account
Click the circle icon, then Disable. The status changes to Disabled, and the user can no longer log in. To undo it, click the play icon, then Enable.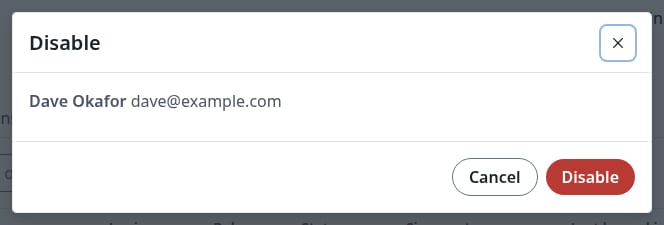
Disabling an account
Transfer a user’s projects
Click the folder icon. Type a name or email under Select a new owner for this user’s projects, choose the user, then click Transfer this user’s projects. The Owner of those projects changes in Project management. Disabled accounts are not offered as the new owner. If you change the text after choosing, the choice is cancelled: choose the user again.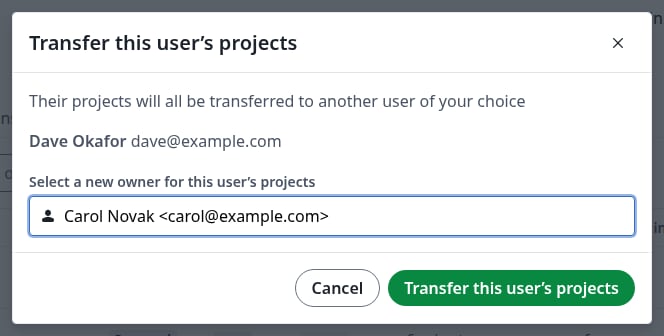
Transferring all of a user's projects
Delete an account
Click the bin icon. Two options are available, and neither is selected by default:- Notify the user about the account deletion sends the user an email.
- Transfer this user’s projects lets you choose a new owner for the projects first. They stay active under the new owner.
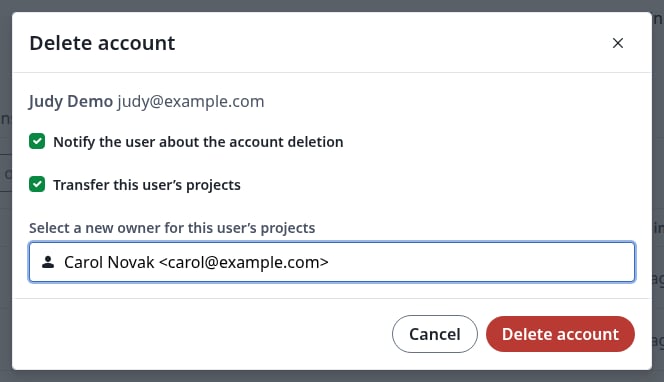
Deleting an account and transferring its projects
Restore or permanently delete an account
Choose Deleted user in the Status filter, or click Display deleted users after a search.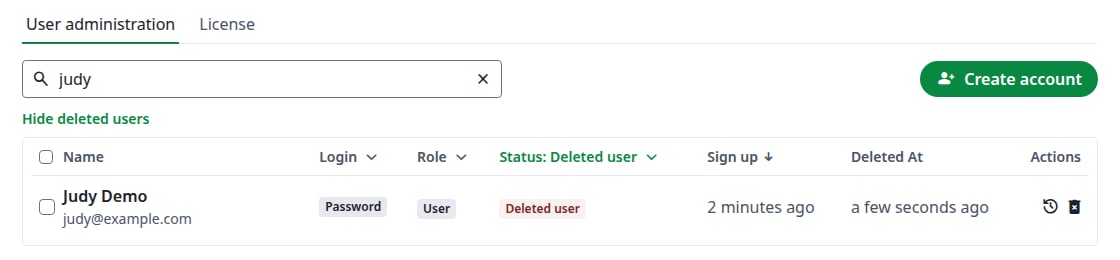
A deleted account
- Restore brings the account back. A disabled account stays disabled. The projects deleted with the account come back too, and each one’s name gets
(Restored)at the end. Projects the user had deleted themselves stay deleted. - Delete permanently removes the account. The dialog warns that this cannot be undone.
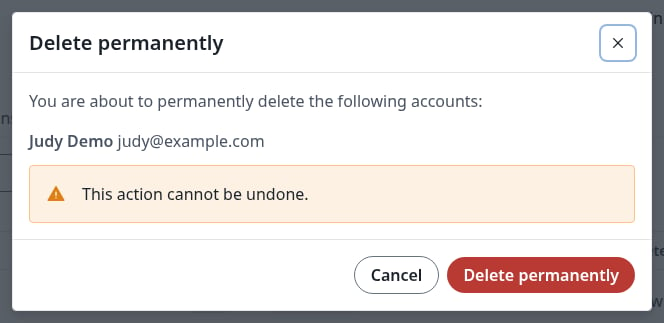
Deleting an account permanently
Change several accounts at once
Tick the accounts in the list. Buttons appear next to Create account: Send activation email, Transfer this user’s projects, Disable, Enable, Make admin, Remove admin and Delete account. The bottom of the list shows how many accounts are selected. The dialog lists them before you confirm.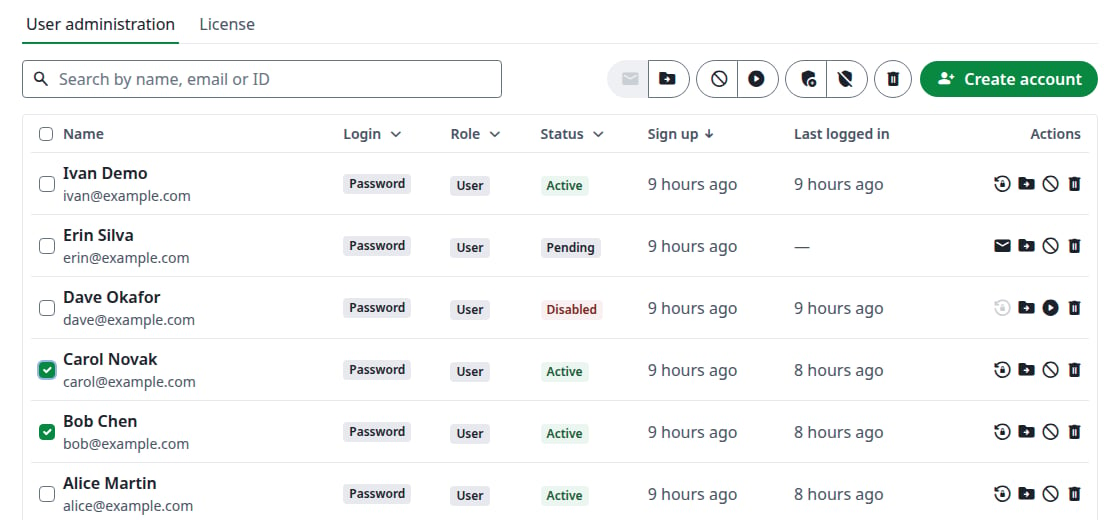
Bulk actions
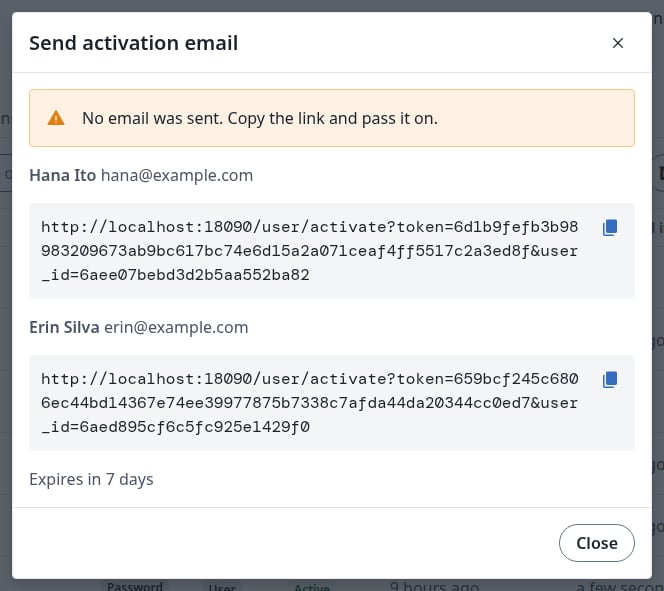
One activation link per account
The user page
Click a user’s name to open their page. It has six tabs.Account
The account’s details. To change them, click the pencil icon, edit the fields, then click Save. You can change the email, the names and the password, and turn Admin on or off. The password rules from onboarding apply. Passing the password on to the user is up to you. To let the user choose it, send a reset link instead.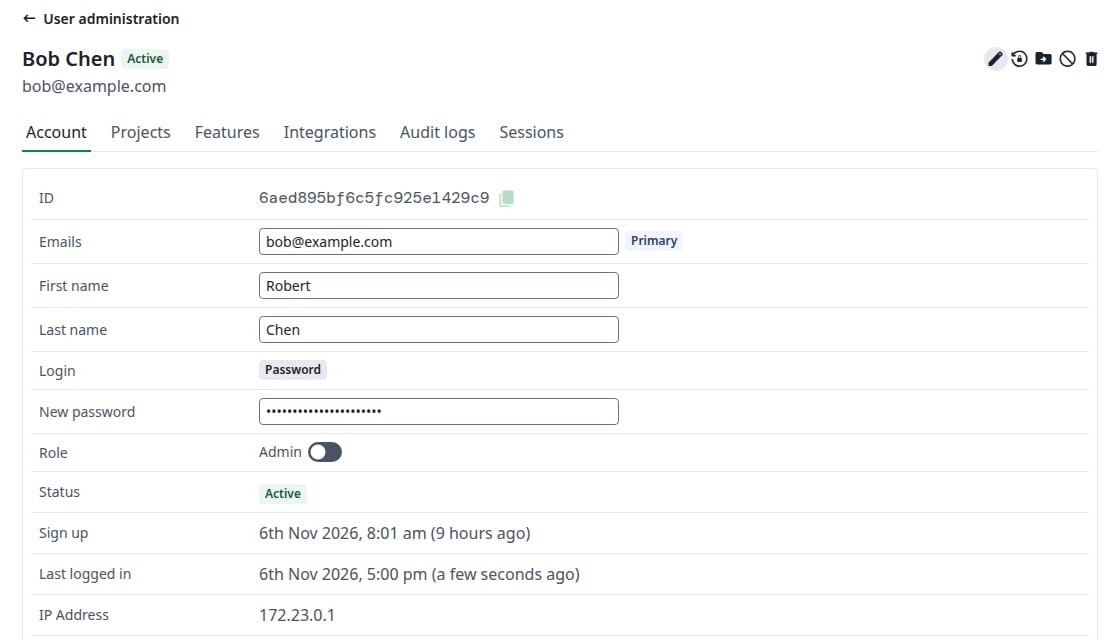
Editing an account
Projects
The projects this user owns, with the same search, Status filter and actions as in Project management.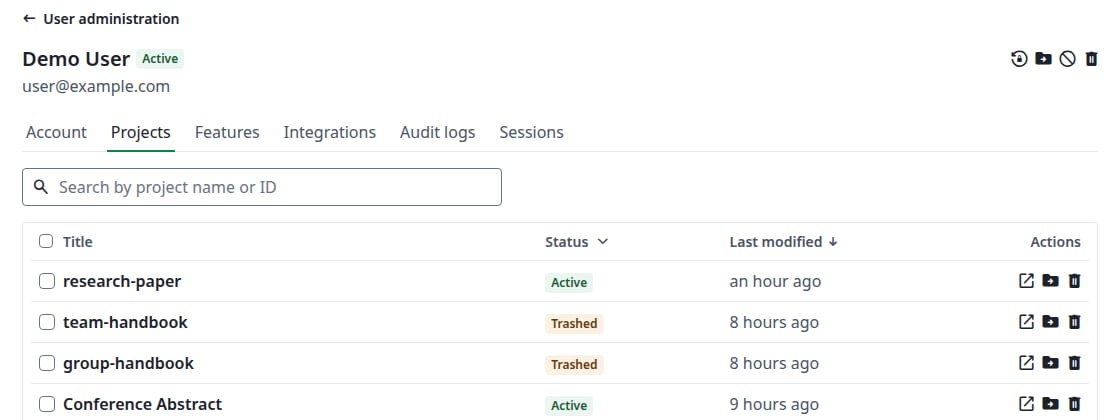
A user's projects
Features
What this account has switched on: collaboration, compile timeout, integrations and AI. To change them, click the pencil icon, change the values, then click Save. For Collaborators per project,-1 means unlimited. Compile timeout is in seconds, from 1 to 600.
On your own account, the pencil and the Reset of AI usage are greyed out. On the Account tab you can still change your own email, names and password.
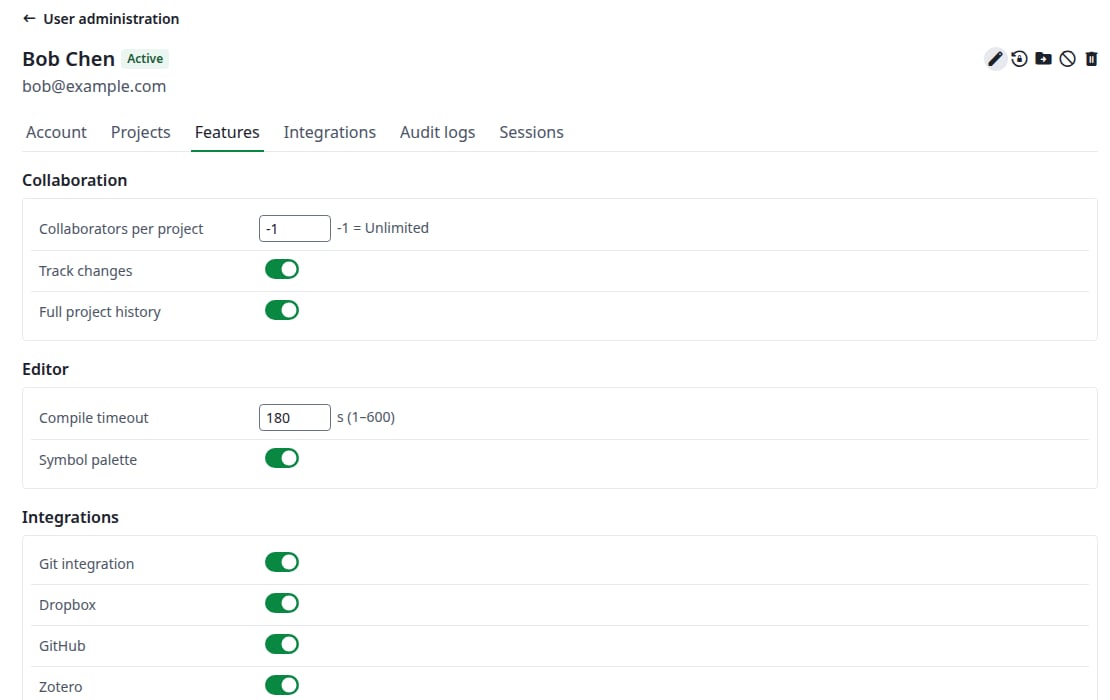
A user's features
Integrations
The user’s Git access tokens and which accounts they linked. This tab is read-only.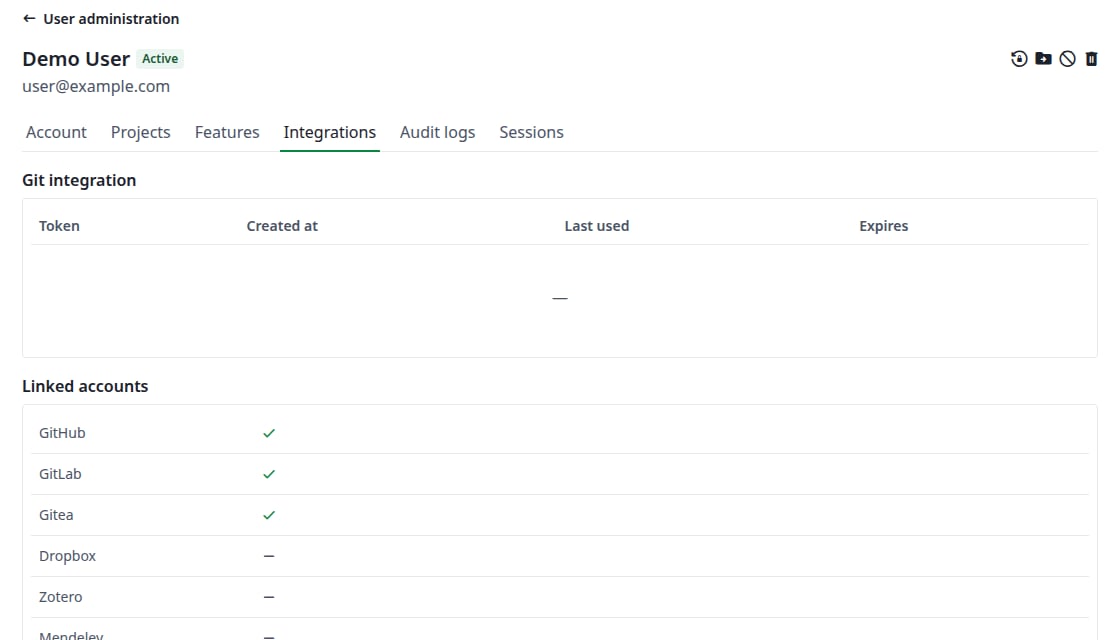
A user's integrations
Audit logs
What happened to this account: the date, the operation, who did it, the IP address and details. Search it, or filter by Operation. Actions you take on an account appear here with you as the initiator.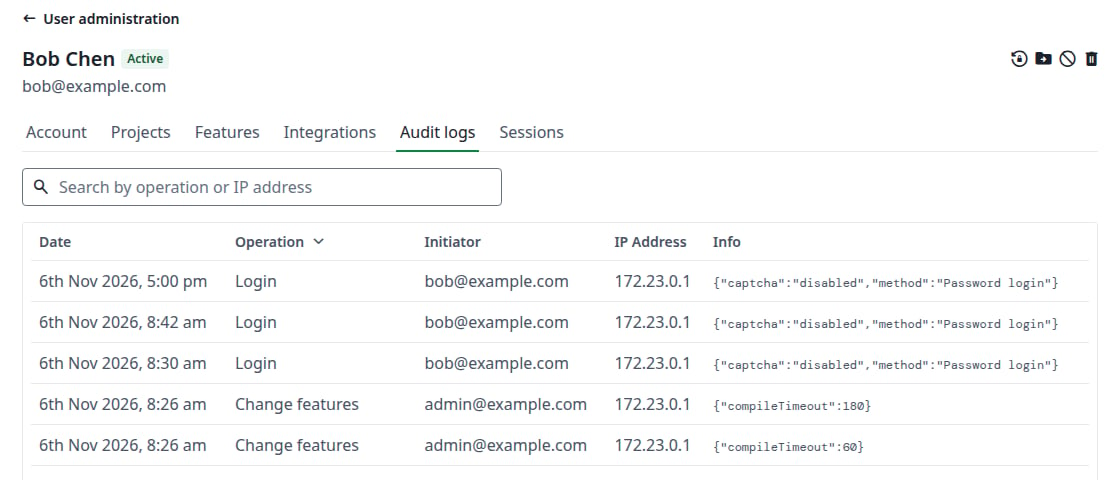
A user's audit logs
Sessions
Where the user is logged in. Click Clear sessions and confirm to log them out everywhere. The tab then says Sessions cleared.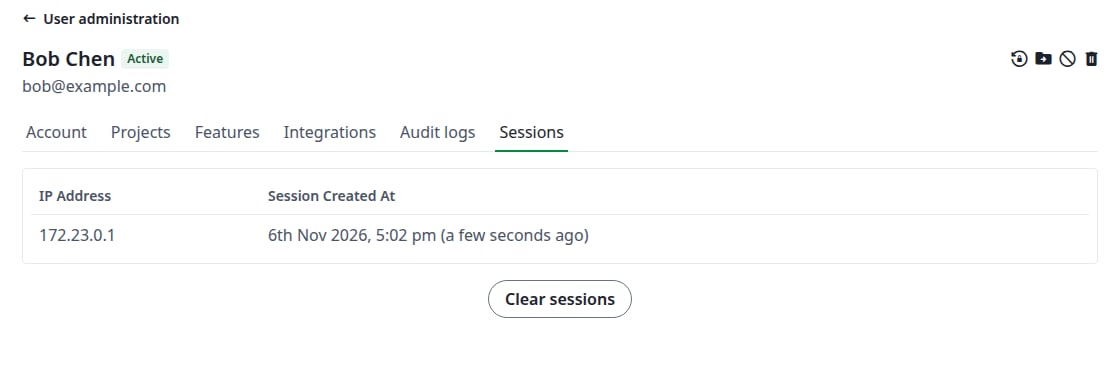
A user's sessions