

- Sandboxed LaTeX compilation with TeXLive Basic (2024-2026)
- Pandoc Import/Export (Features in SaaS Platform)
- Python Script Runner (Features in SaaS Platform)
- Git-Bridge Support (Features in Server Pro)
- Advanced Reference Search (Features in SaaS Platform)
- Admin Panel (Global Users/Projects management)
- Track Changes (With Review and Comment Panel)
- Full Project History(With Restore and Download)
- Symbol Palette (Features in Server Pro/SaaS Platform)
1
Create Your GitHub Codespace
Click the following button to create your GitHub Codespace. In terms of server configuration, 2 cores with 8 GB of RAM are generally sufficient for a test case. If you plan to use TeX Live Full, we recommend choosing a configuration with 8 cores 64GB.
2
Initialize Overleaf Instance
When your codespace is ready, run the following command in your bash to Initialize your overleaf instance.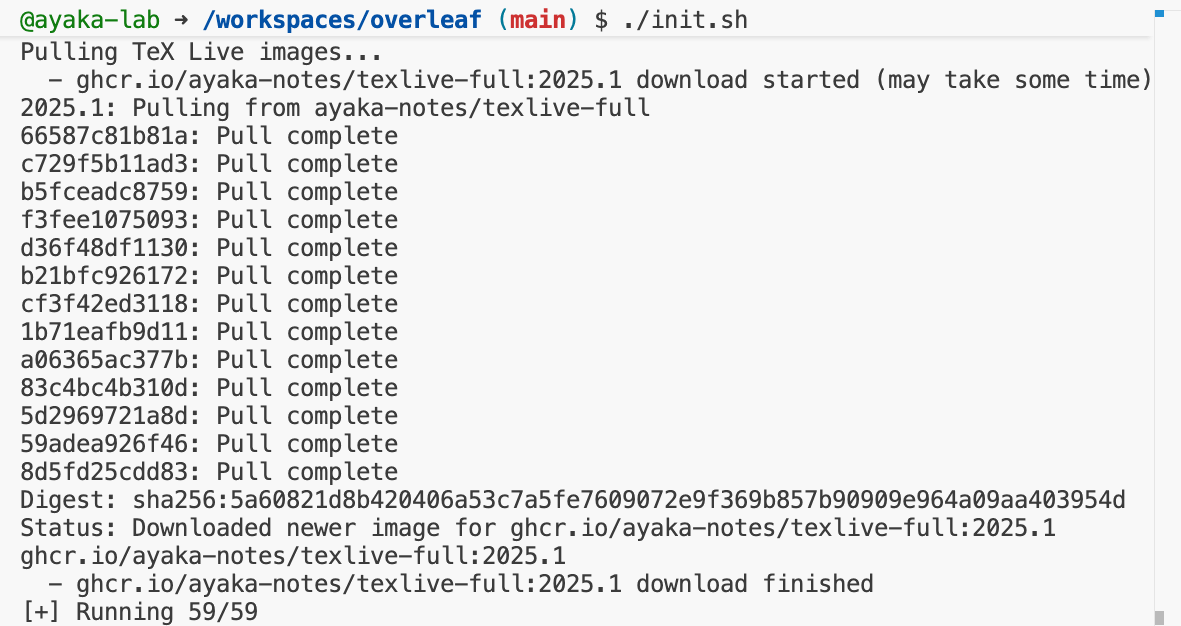
bash
You may need to wait for at least 3 mins before we pull all the docker images you need.
3
Make Port 80 Available
Switch to the Ports tab, and then follow these steps to make port 80 public.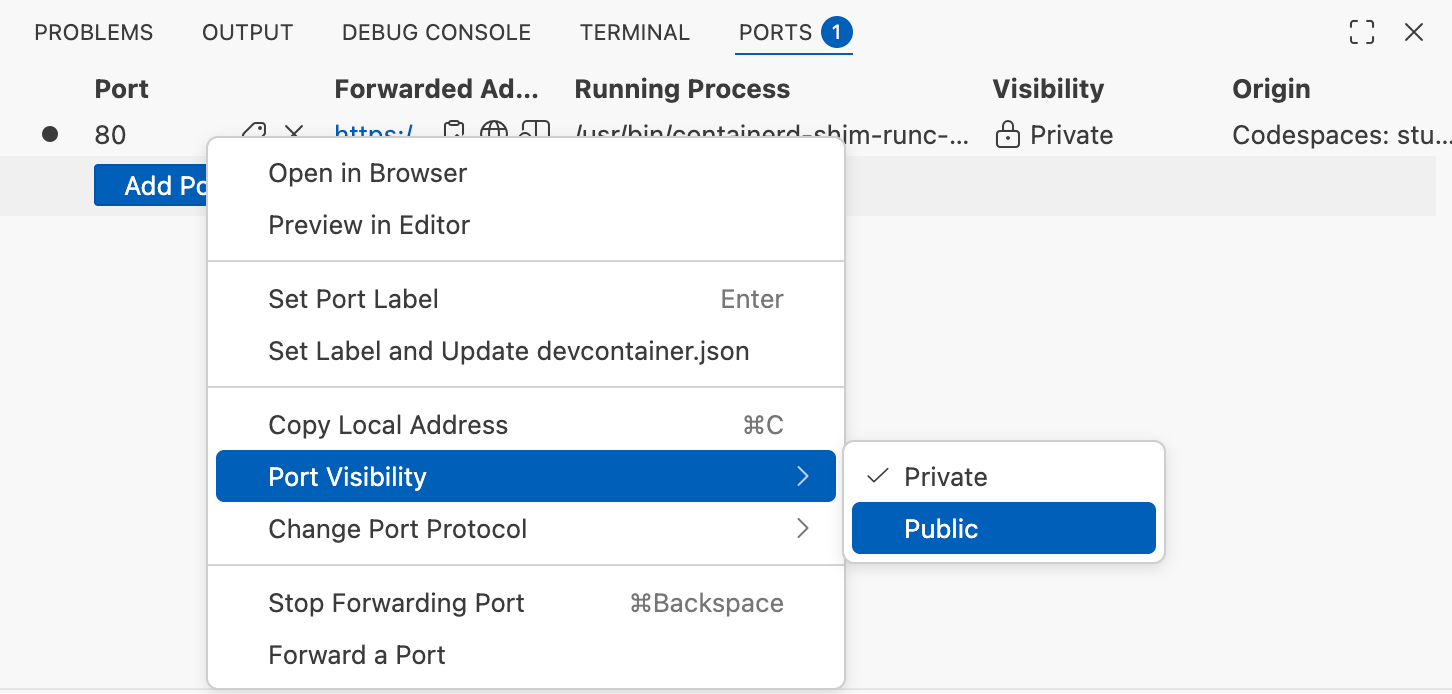
/launchpad to visit the overleaf welcome page.4
Create Your Admin Account
Input your admin account and password, then click Register button.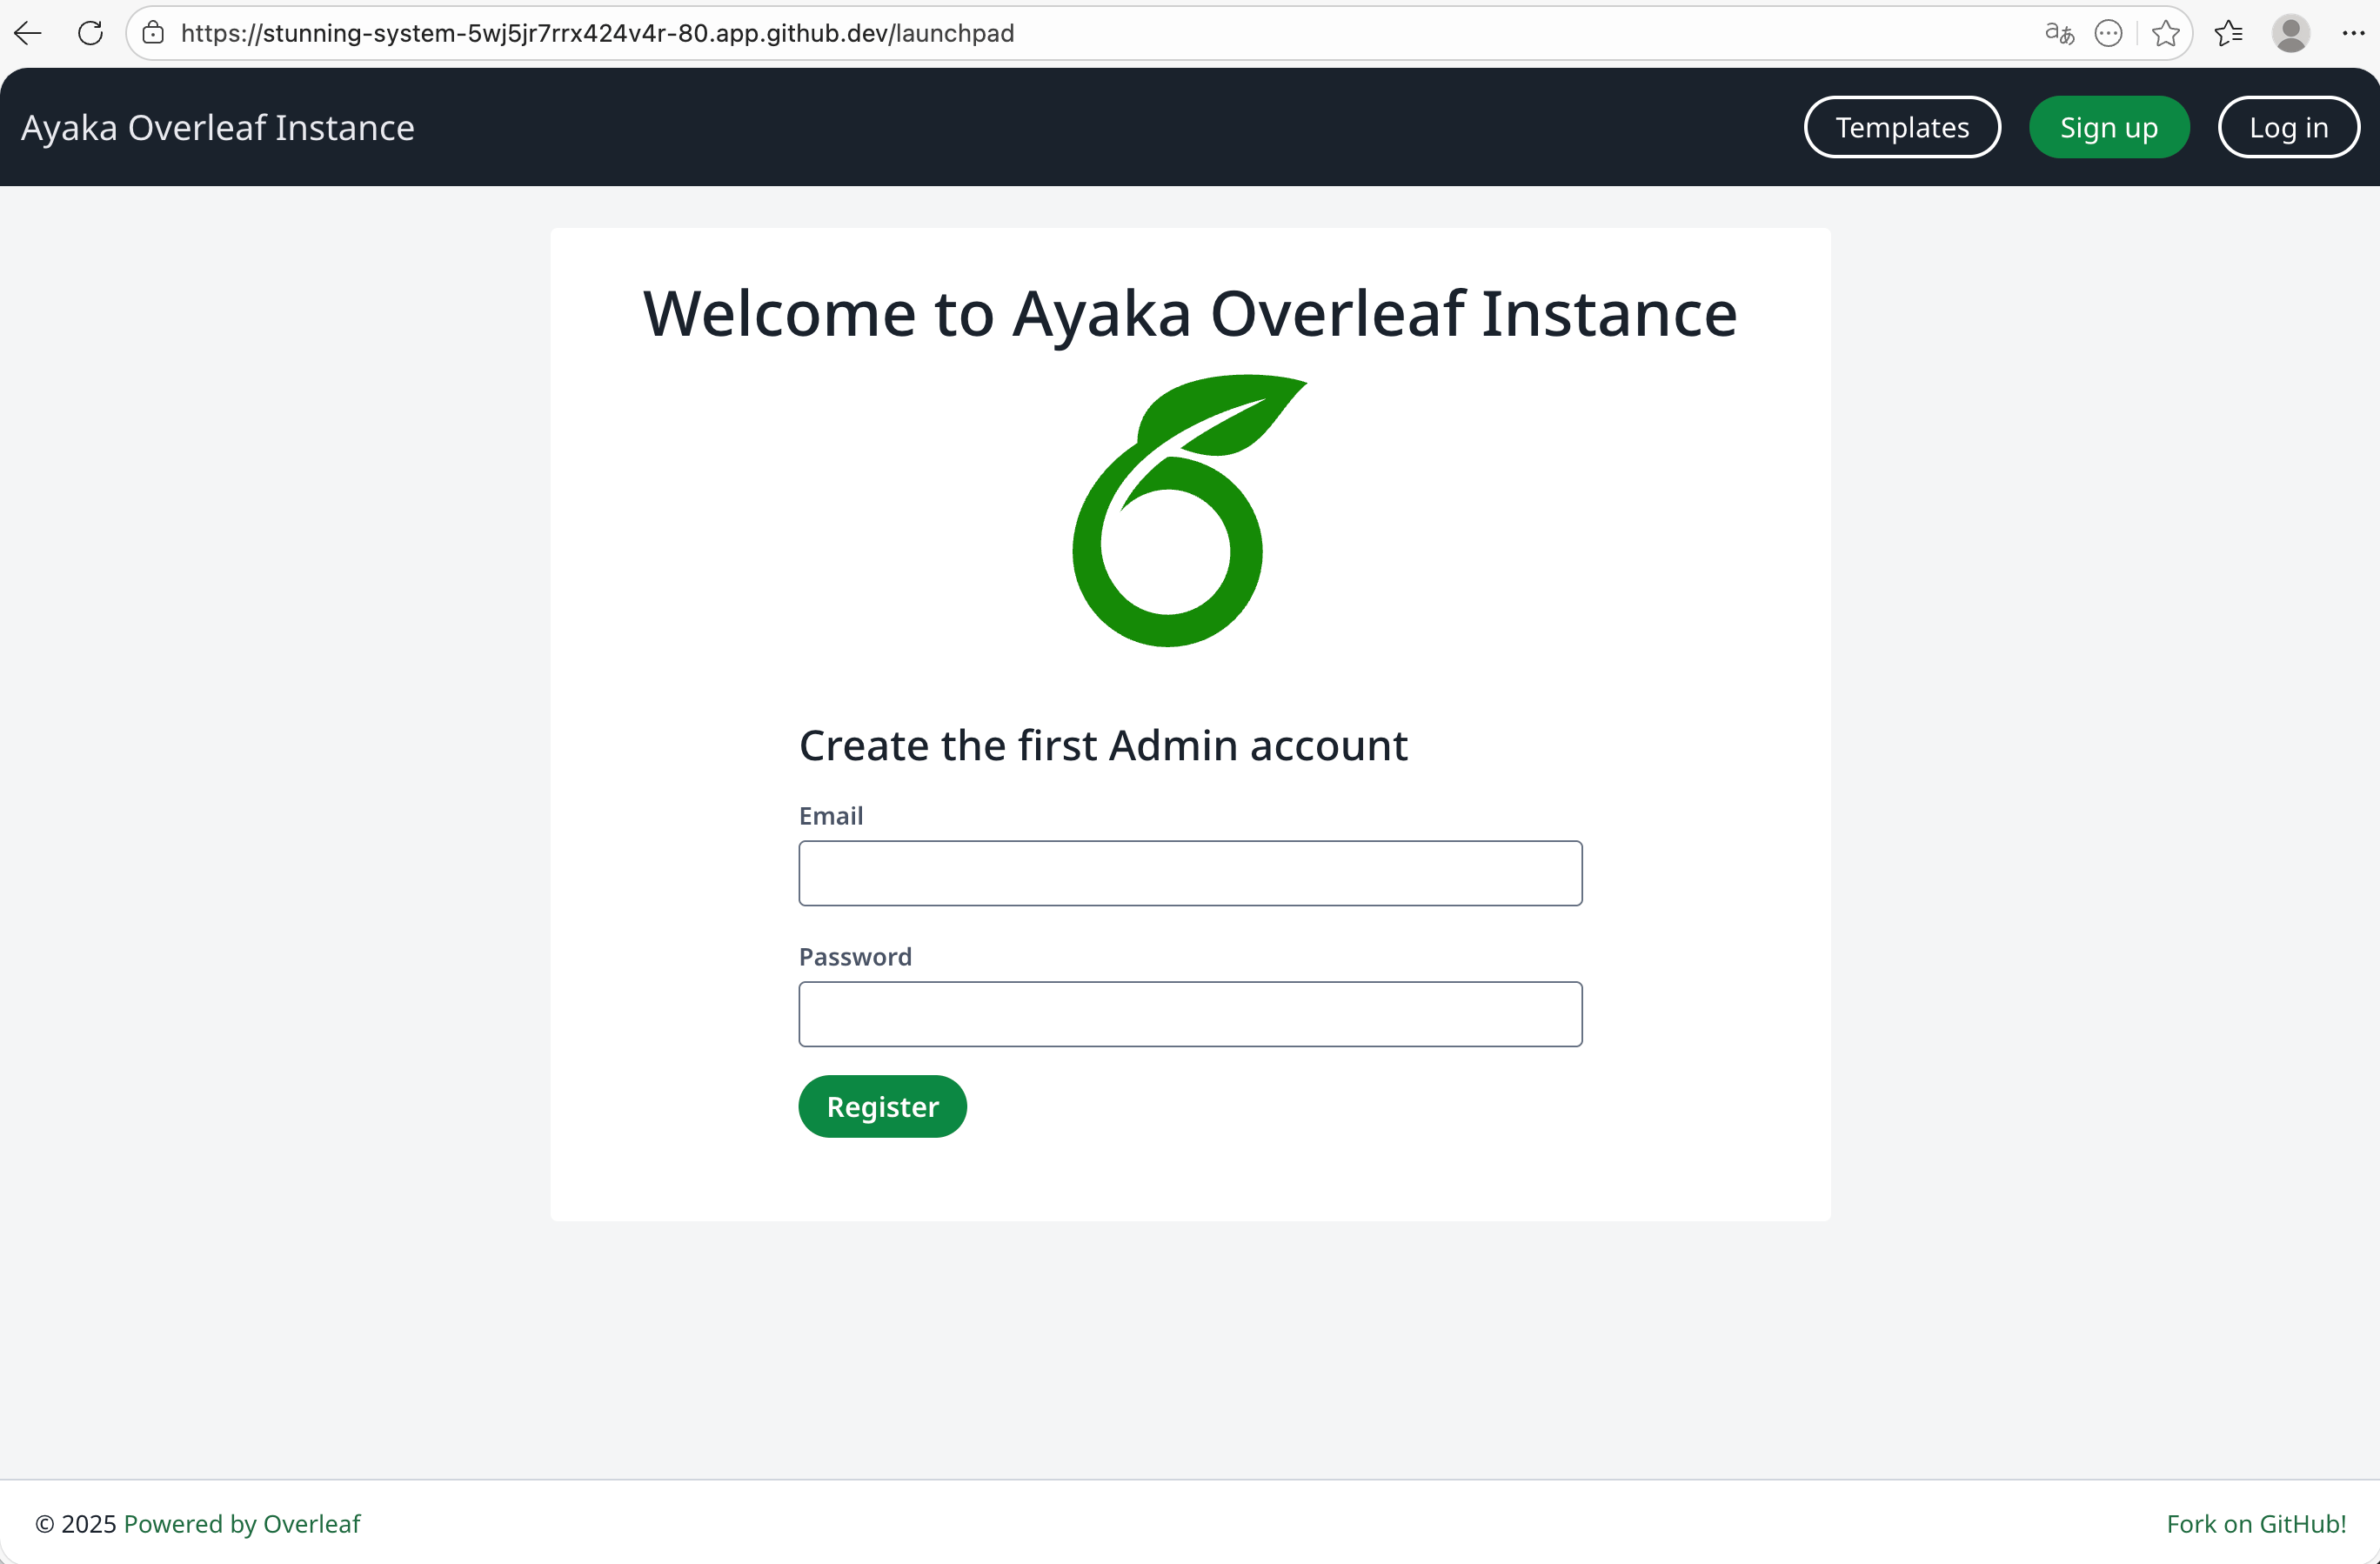
5
Enjoy Writing
Now, time to enjoy your writing!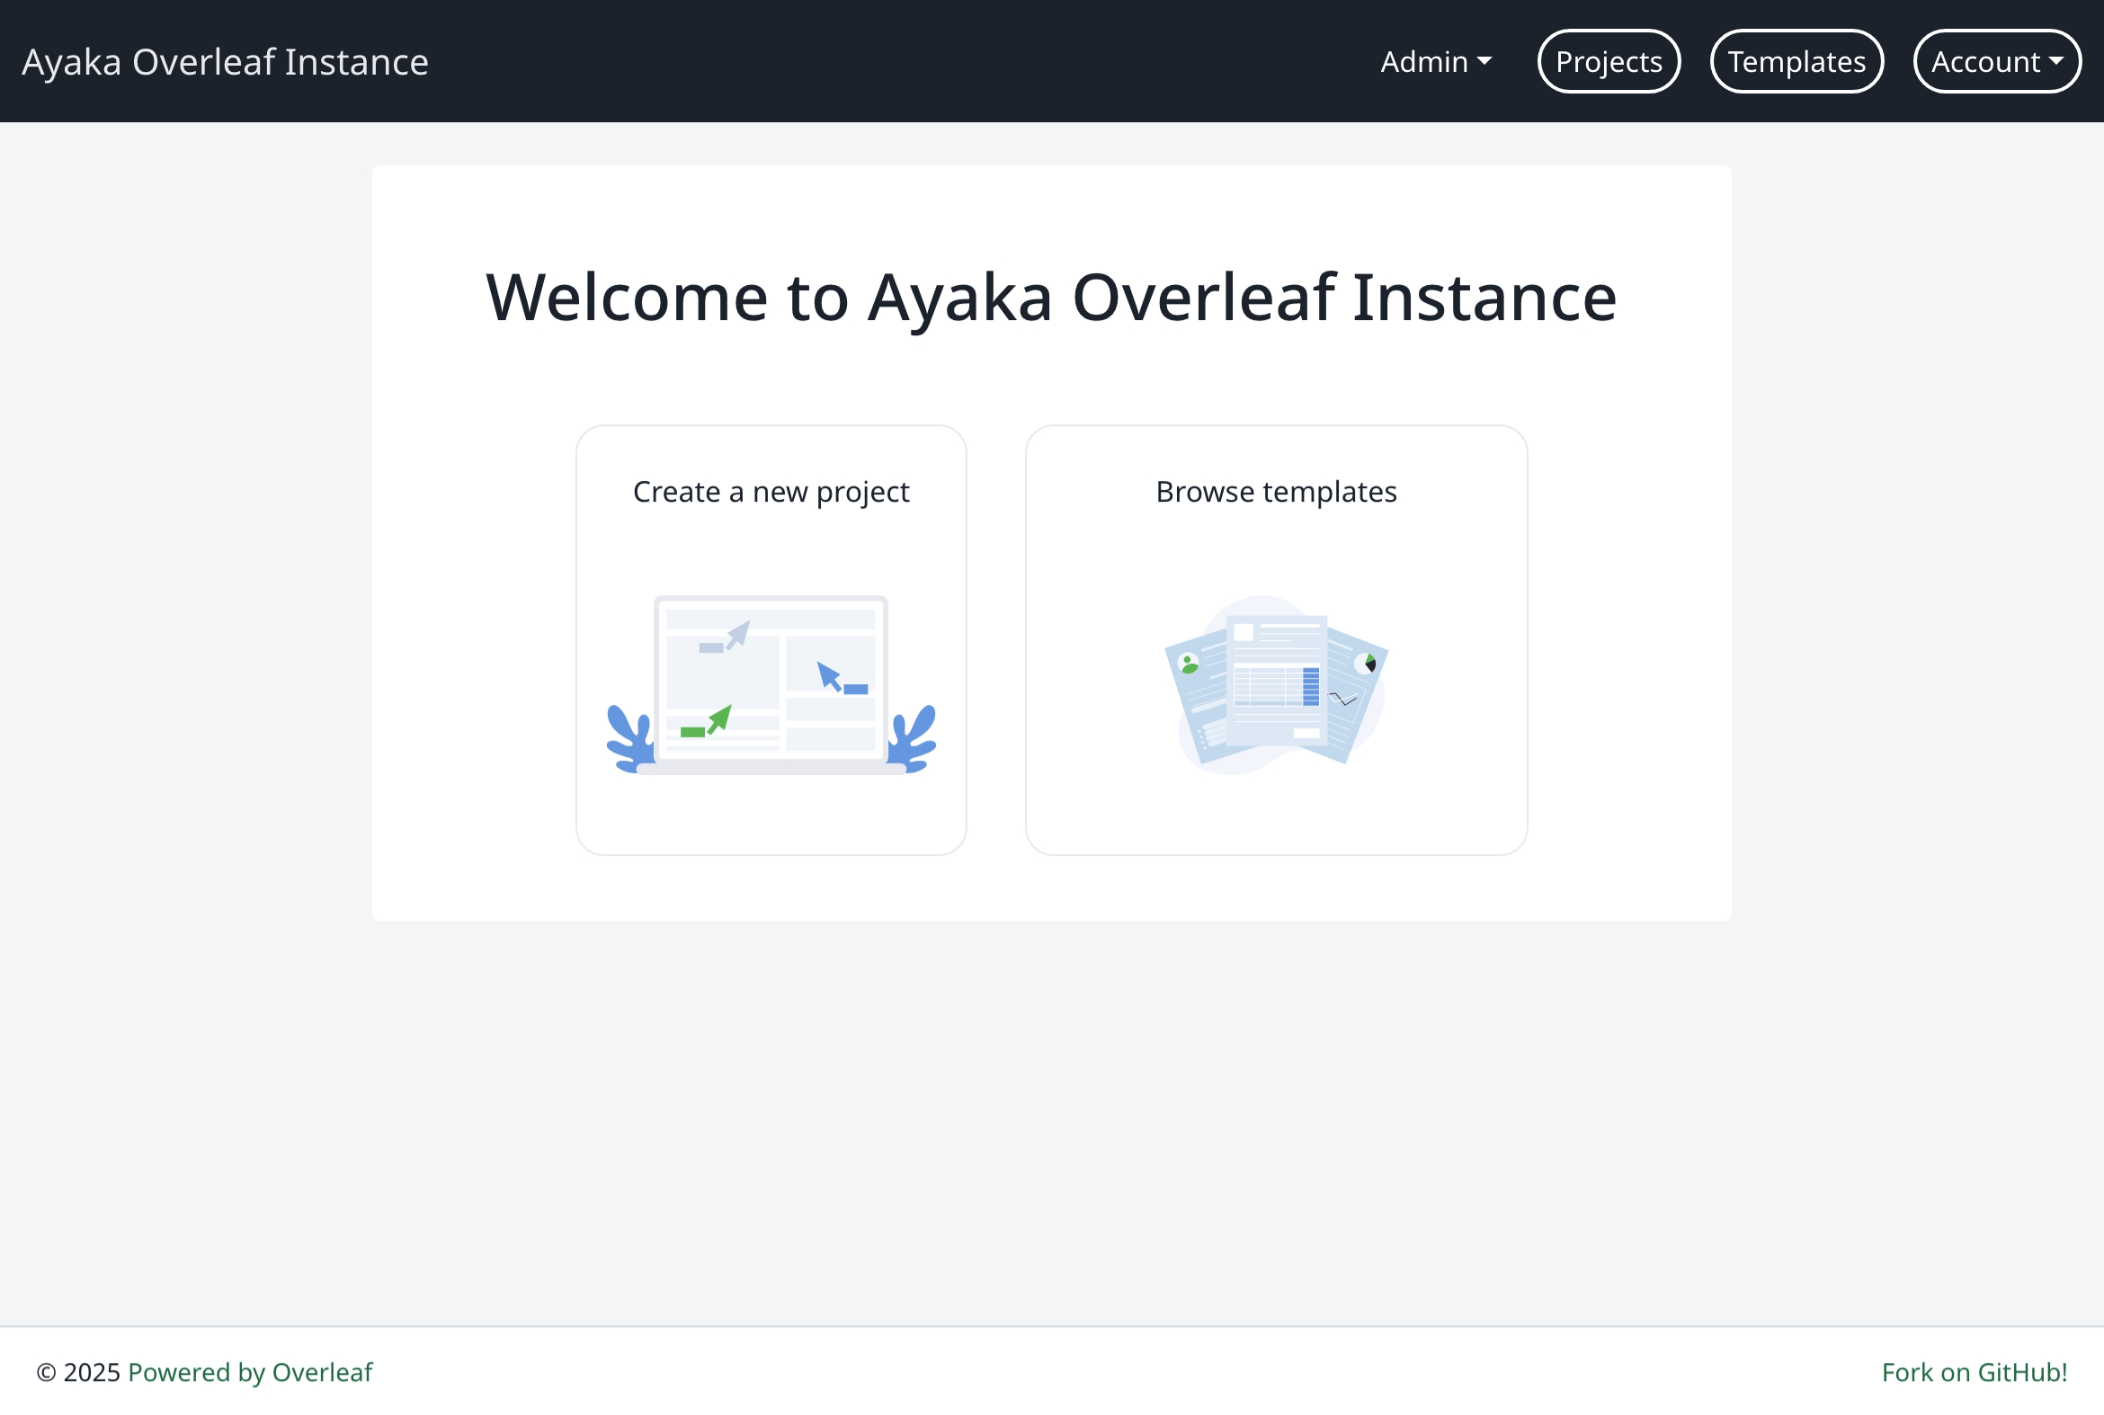
Use TeXLive Full Image
If you have access to 8-core/64 GB GitHub Codespaces, you can use the TeXLive Full image in this playground. You can change the following environment variables intoolkit/config/variables.env file to use TeXLive Full image instead of TeXLive Basic image.