> ## Documentation Index
> Fetch the complete documentation index at: https://ayakaleaf-pro.mintlify.site/llms.txt
> Use this file to discover all available pages before exploring further.
# {Minted}
本文說明如何使用 [`minted` 套件](https://ctan.org/pkg/minted?lang=en),在 LaTeX 文件中格式化程式語言原始碼並加上語法突顯。我們先從一個範例開始:
```latex theme={null}
\documentclass{article}
\usepackage{minted}
\begin{document}
\begin{minted}{python}
import numpy as np
def incmatrix(genl1,genl2):
m = len(genl1)
n = len(genl2)
M = None #to become the incidence matrix
VT = np.zeros((n*m,1), int) #dummy variable
#compute the bitwise xor matrix
M1 = bitxormatrix(genl1)
M2 = np.triu(bitxormatrix(genl2),1)
for i in range(m-1):
for j in range(i+1, m):
[r,c] = np.where(M2 == M1[i,j])
for k in range(len(r)):
VT[(i)*n + r[k]] = 1;
VT[(i)*n + c[k]] = 1;
VT[(j)*n + r[k]] = 1;
VT[(j)*n + c[k]] = 1;
if M is None:
M = np.copy(VT)
else:
M = np.concatenate((M, VT), 1)
VT = np.zeros((n*m,1), int)
return M
\end{minted}
\end{document}
```
此範例會產生以下輸出:
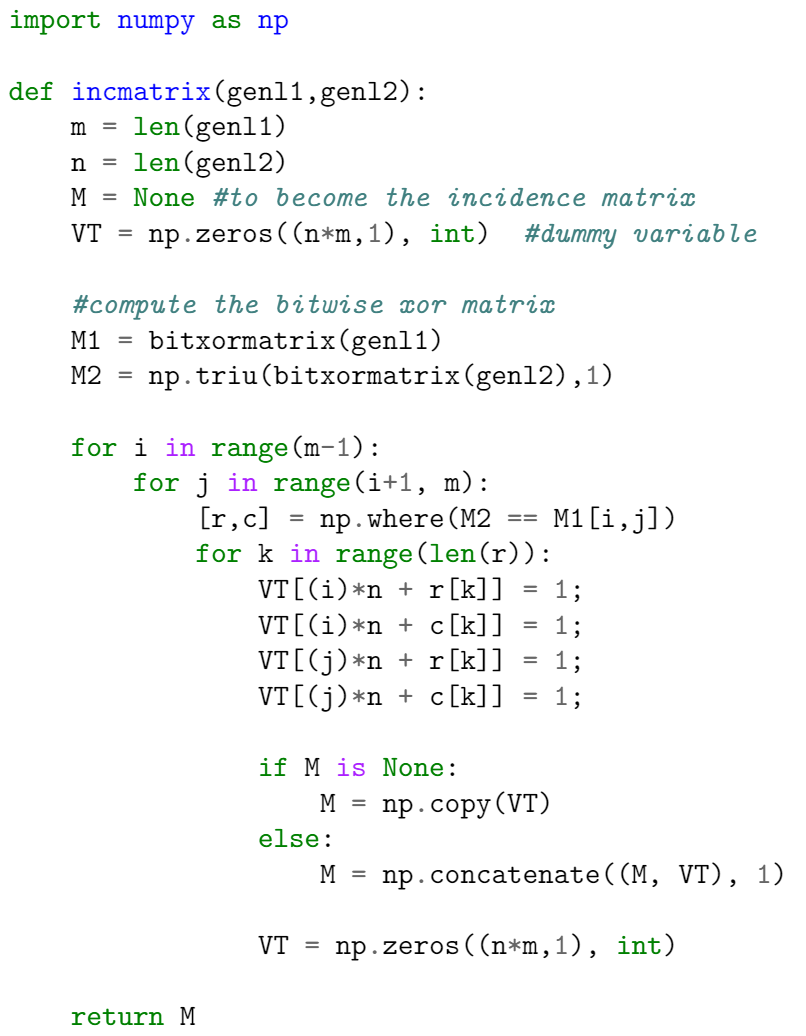
這裡有兩個重要的指令。在導言區(preamble)中,透過以下寫法匯入套件:
```latex theme={null}
\usepackage{minted}
```
接著,標籤 `\begin{minted}{python}` 與 `\end{minted}` 界定出一個環境,該環境會以等寬字型原樣輸出文字,並為註解、關鍵字與函式加上顏色。參數 `python` 是原始碼所使用的程式語言。`minted` 支援超過 150 種程式語言、標記語言以及設定檔格式,支援語言清單請參閱[參考指南](https://www.overleaf.com/learn/latex/Code_Highlighting_with_minted#Reference_guide)。
**注意**:若要讓 `minted` 在你的\_本機\_ LaTeX 發行版中運作,必須另外安裝名為 [Pygments](https://pygments.org/) 的程式。[Overleaf](https://www.overleaf.com/) 能讓你省去安裝它以及執行特殊指令來編譯文件的麻煩——在 Overleaf 上,使用 `minted` 的文件可以「開箱即用」。
### 基本用法
如下例所示,`minted` 環境可以透過設定來修改排版後程式碼的視覺呈現。這裡的 `minted` 環境使用了數個以逗號分隔、形式為 `key=value` 的參數:
```latex theme={null}
\documentclass{article}
\usepackage{minted}
\usepackage{xcolor} % to access the named colour LightGray
\definecolor{LightGray}{gray}{0.9}
\begin{document}
\begin{minted}
[
frame=lines,
framesep=2mm,
baselinestretch=1.2,
bgcolor=LightGray,
fontsize=\footnotesize,
linenos
]
{python}
import numpy as np
def incmatrix(genl1,genl2):
m = len(genl1)
n = len(genl2)
M = None #to become the incidence matrix
VT = np.zeros((n*m,1), int) #dummy variable
#compute the bitwise xor matrix
M1 = bitxormatrix(genl1)
M2 = np.triu(bitxormatrix(genl2),1)
for i in range(m-1):
for j in range(i+1, m):
[r,c] = np.where(M2 == M1[i,j])
for k in range(len(r)):
VT[(i)*n + r[k]] = 1;
VT[(i)*n + c[k]] = 1;
VT[(j)*n + r[k]] = 1;
VT[(j)*n + c[k]] = 1;
if M is None:
M = np.copy(VT)
else:
M = np.concatenate((M, VT), 1)
VT = np.zeros((n*m,1), int)
return M
\end{minted}
\end{document}
```
此範例會產生以下輸出:
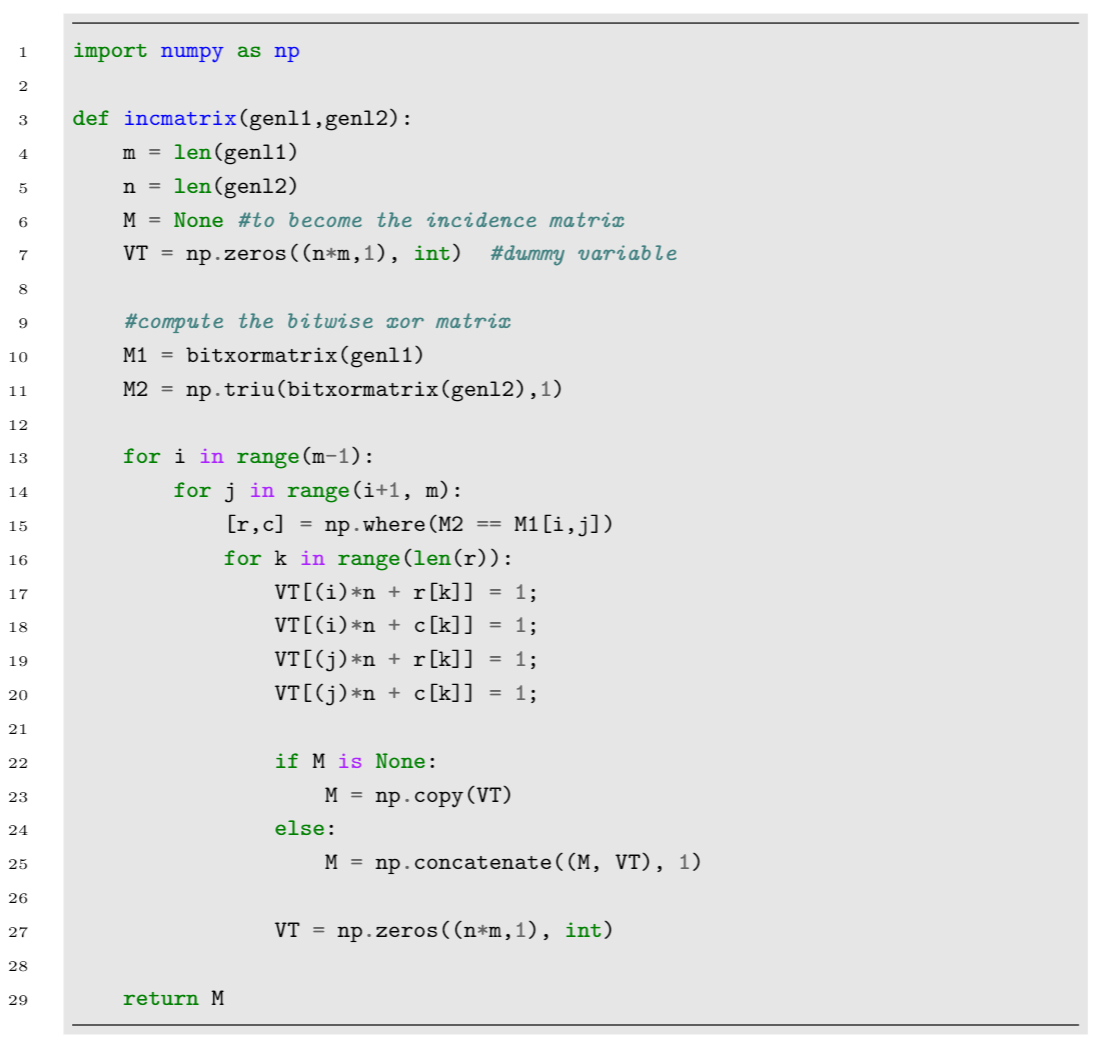
此範例中使用的參數如下:
* `frame=lines`:在程式碼的上方與下方各畫一條線作為框線。其他可用的值有 `leftline`、`topline`、`bottomline` 與 `single`。
* `framesep=2mm`:框線間距設為 2mm。也可以使用其他[長度單位](https://www.overleaf.com/learn/latex/Lengths_in_LaTeX)。
* `baselinestretch=1.2`:程式碼的行距設為 1.2。
* `bgcolor=LightGray`:背景顏色設為 `LightGray`。你需要匯入 `xcolor` 套件才能使用此功能。若要進一步了解顏色操作,請參閱[在 LaTeX 中使用顏色](https://www.overleaf.com/learn/latex/Using_colours_in_LaTeX)。
* `fontsize=\footnotesize`:字型大小設為 `footnotesize`。也可以設定任何其他的[字型大小](https://www.overleaf.com/learn/latex/Font_sizes_and_kinds%23Reference_guide)。
* `linenos`:啟用行號。
其他可能有用的選項包括:
* `mathescape`:在程式碼註解中啟用數學模式。
* `rulecolor`:變更框線的顏色。
* `showspaces`:啟用一個特殊字元,讓空白可見。
### 從檔案引入程式碼
程式碼通常儲存在原始碼檔案中,因此能自動從檔案匯入程式碼的指令非常方便,如下例所示:
```latex theme={null}
\documentclass{article}
\usepackage{minted}
\title{Importing files using minted}
\begin{document}
The next code will be directly imported from a file:
\inputminted{octave}{BitXorMatrix.m}
\end{document}
```
此範例會產生以下輸出:
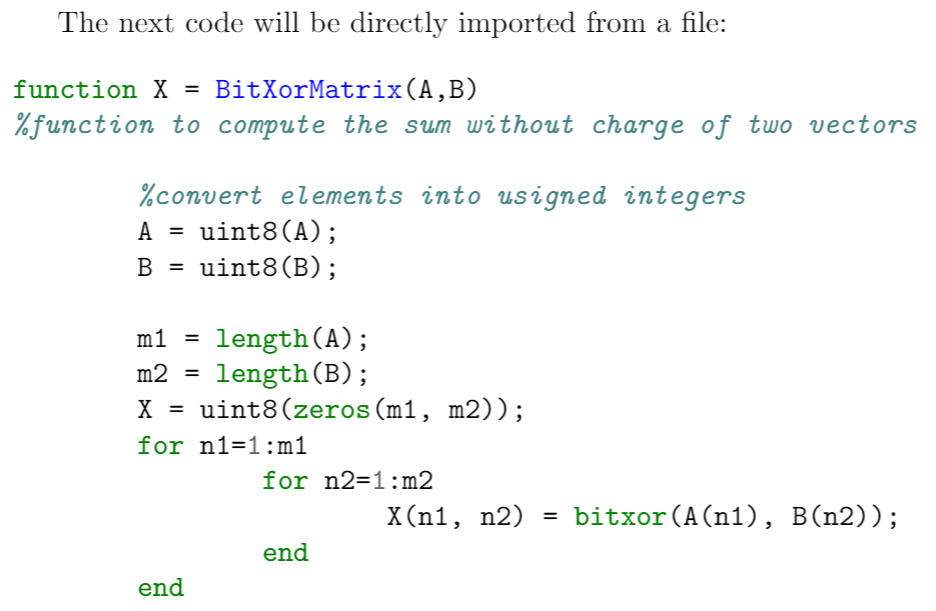 指令 `\inputminted{octave}{BitXorMatrix.m}` 會從檔案 `BitXorMatrix.m` 匯入程式碼,參數 `octave` 則告訴 LaTeX 程式碼所使用的程式語言。此指令可以額外接受兩個參數,以僅匯入檔案的一部分;例如,若要匯入第 2 行到第 12 行的程式碼,指令會變成:
```latex theme={null}
\inputminted[firstline=2, lastline=12]{octave}{BitXorMatrix.m}
```
### 單行程式碼
如果你只需要輸入一行程式碼,可以使用 `\mint` 指令,其語法如下例所示。
```latex wrap theme={null}
One-line code formatting also works with \texttt{minted}. For example, a small fragment of HTML like this:
\mint{html}|
指令 `\inputminted{octave}{BitXorMatrix.m}` 會從檔案 `BitXorMatrix.m` 匯入程式碼,參數 `octave` 則告訴 LaTeX 程式碼所使用的程式語言。此指令可以額外接受兩個參數,以僅匯入檔案的一部分;例如,若要匯入第 2 行到第 12 行的程式碼,指令會變成:
```latex theme={null}
\inputminted[firstline=2, lastline=12]{octave}{BitXorMatrix.m}
```
### 單行程式碼
如果你只需要輸入一行程式碼,可以使用 `\mint` 指令,其語法如下例所示。
```latex wrap theme={null}
One-line code formatting also works with \texttt{minted}. For example, a small fragment of HTML like this:
\mint{html}|Something here
|
\noindent can be formatted correctly.
```
此範例會產生以下輸出:
 大括號中的參數用於設定程式語言(此例中為 `html` 標記語言),而實際要格式化的文字則以 '|' 字元界定。
### 自行託管 Overleaf 時的問題
如果你使用沙箱編譯,並以 Overleaf 伺服器部署 Overleaf,minted 可能無法正常運作。詳細資訊請參閱:[issues/131](https://github.com/yu-i-i/overleaf-cep/issues/131)。你需要啟用 arm 指令設定檔以及部分系統呼叫,minted 才能正常運作。
This documentation is built and hosted on [Mintlify](https://mintlify.com), a developer documentation platform.
大括號中的參數用於設定程式語言(此例中為 `html` 標記語言),而實際要格式化的文字則以 '|' 字元界定。
### 自行託管 Overleaf 時的問題
如果你使用沙箱編譯,並以 Overleaf 伺服器部署 Overleaf,minted 可能無法正常運作。詳細資訊請參閱:[issues/131](https://github.com/yu-i-i/overleaf-cep/issues/131)。你需要啟用 arm 指令設定檔以及部分系統呼叫,minted 才能正常運作。
This documentation is built and hosted on [Mintlify](https://mintlify.com), a developer documentation platform.